eBMS


Screenshots
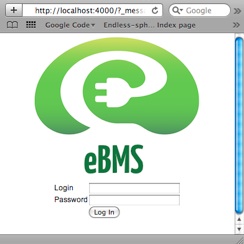
eBMS login-screen
The eBMS can be configured with web-interface. The CPU-module has network-connection that can be used to connect eBMS to normal laptop or desktop PC.
When you point your browser for the fist time to the IP-address of the eBMS CPU-module, you are required to login to the system.
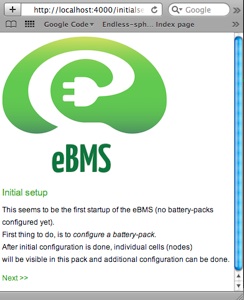
eBMS initial setup - 1st page
eBMS detects if the system has been configured earlier.
If not, you’ll be forwarded to the setup-screen. After you have done your initial setup, you’ll have an opportunity to tune the system even more. But for most normal users, the initial setup is all that is needed to get an working EV BMS.
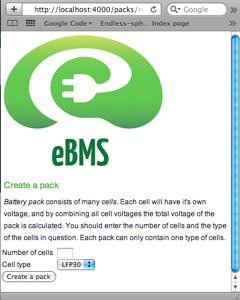
eBMS initial setup - 2nd page
When you choose your cell-type and cell-number, you’ll be telling eBMS what parameters to use. eBMS knows already what are the default values for different types of TS’s cells. If you want, you can add your own cell-types and parameters easily.
For most normal users, it’s enough to choose your cell-type from drop-down and tell how many cells your system will have. After you click ”Create a pack”, eBMS will make a pack that has requested amount of cells. By default, eBMS expects that each cell will have it’s own node. Node is that small electric circuit that is mounted on top of each cell.
These are the screenshots of web-configuration interface. Also in heavy development phase.